So…I am such a DIYer. If I can do it then I’m gonna try it. I even installed garage doors with my dad when I was a teenager. I am totally that handy girl that loves to try her hand and making things. A few years ago I saw this awesome letter that my friend Spanki had up in her house.(She’s an über talented photographer so be sure to check her out here.) I loved it and just knew I had to find it. I then thought…I can make one myself. These are super easy to make. I found some already made ones at Anthropologie but if you’re into DIYing or don’t have an Anthro near you then be sure to give this a try. The Anthro ones don’t light up either so ha!! You can also now buy kits that help you build these, but they’re nowhere near as awesome as mine. 😉 So first. Here is a list of everything you’ll need.
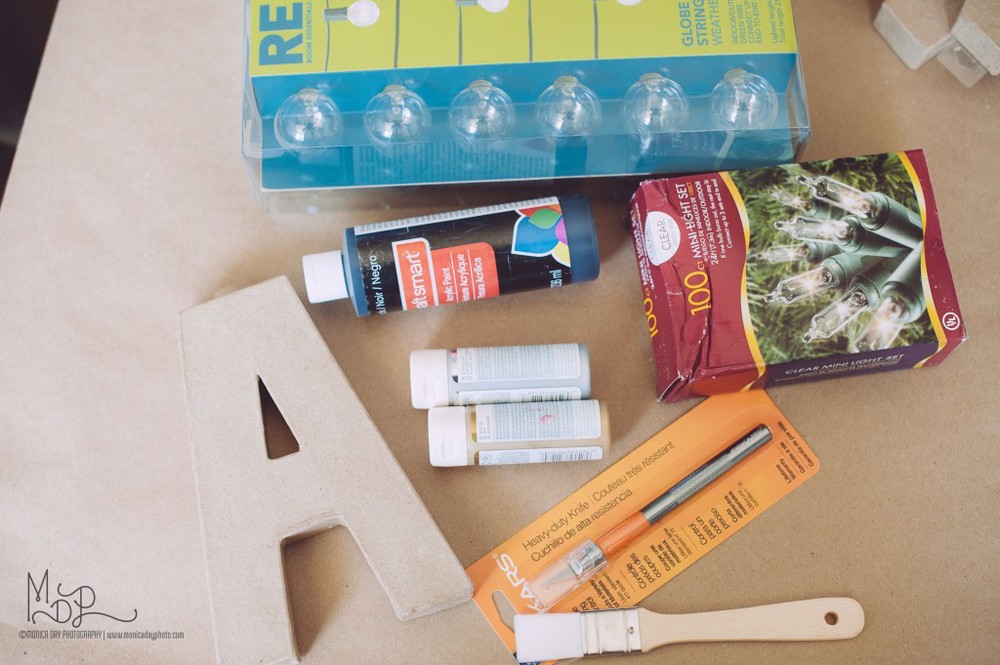
Cardboard letters – You can get these at any craft store. Be sure to look for coupons before you go. If you’re buying a lot then that coupon will come in handy.
Paint – For this one I wanted a metal look so I used black and metallic silver. You can do these in any color you choose.
Lights – You can use the larger round lights if you get the large cardboard letters. If you get the smaller letters than regular Christmas lights will work. You can get those large globe lights at Target or on Amazon.
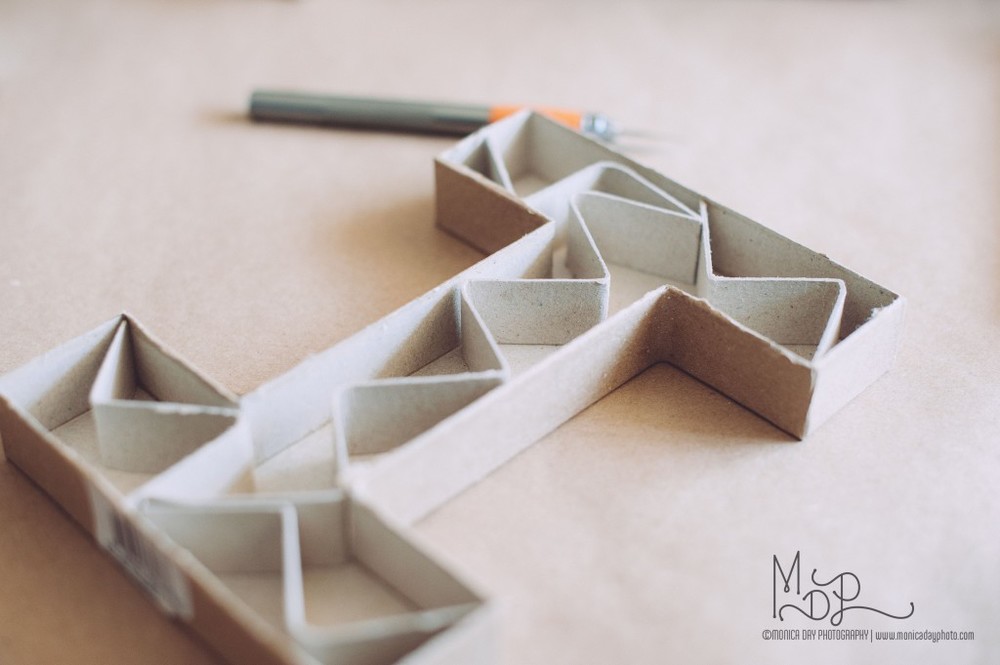
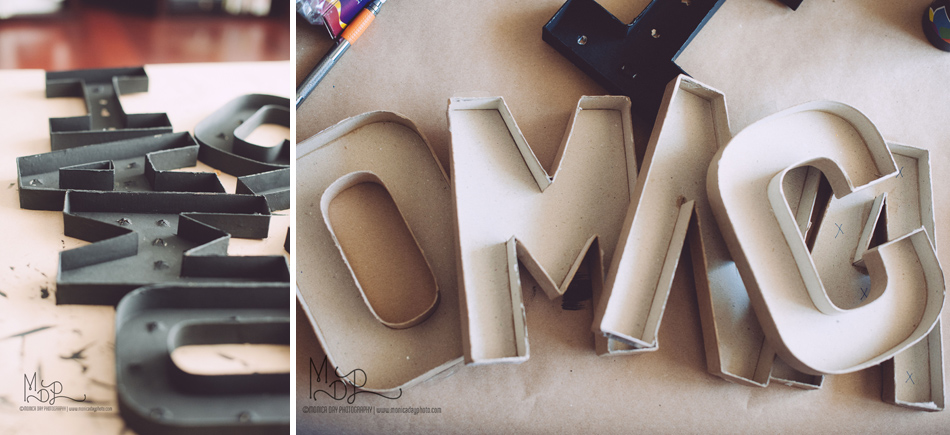
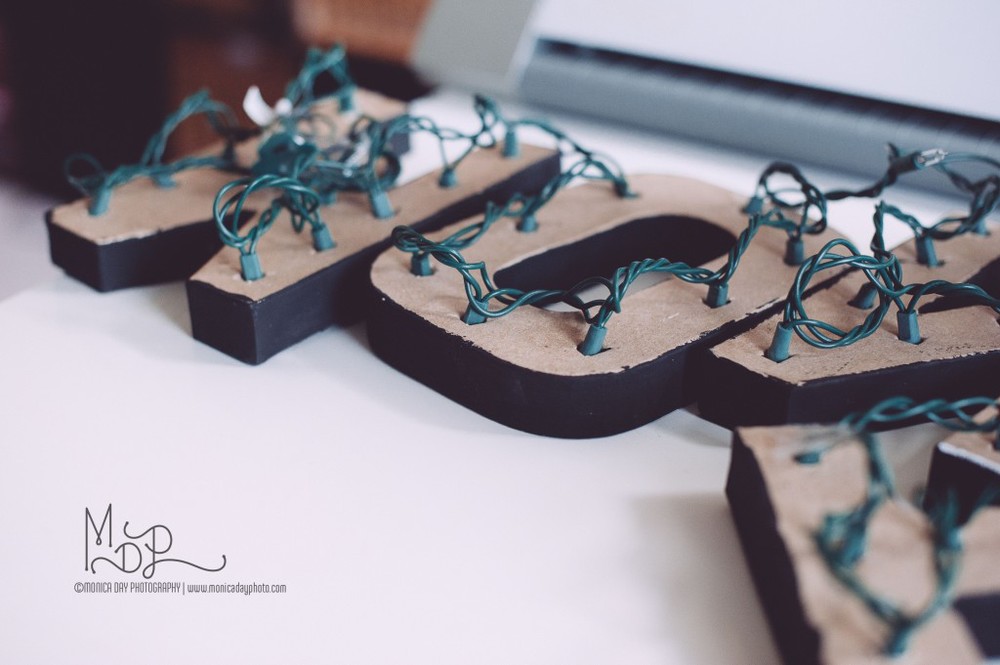
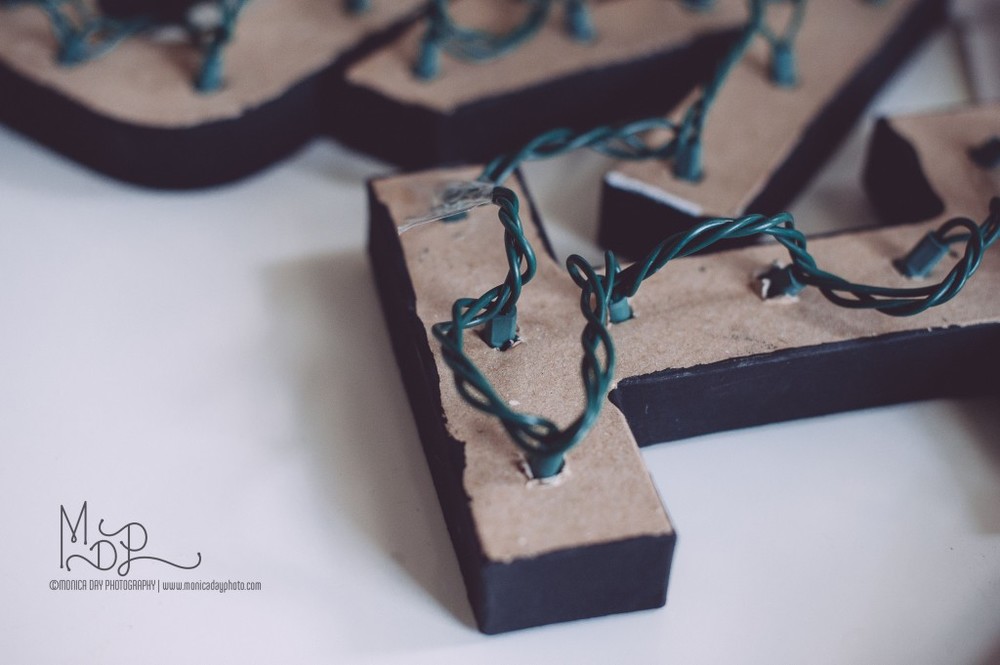
The next step is to cut the top off of the letters. This can be done really easy by just starting in a corner. After you’re started you can just peel off the top. It’s pretty easy really. You’ll see some spacers inside the letters. Those just come right out. You can save those for another project or just recycle them.
Here’s what it looks like all nice and cleaned out. Don’t worry if some of the pieces break apart or the glue shows. This can be fixed easily. The glue will be painted over and adds to the look of the letters.
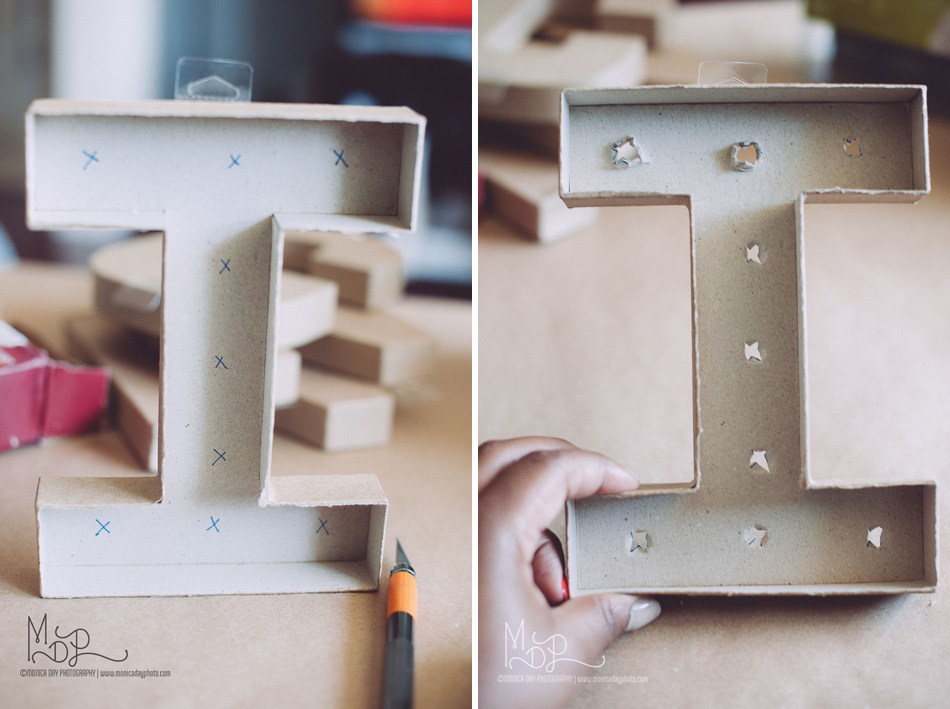
Next, you’ll want to mark where your lights will go. If you’re using the larger letters then make sure you work out the number you need for each letter. For these, I am using the small Christmas lights. I just guessed with these since there are 100 lights on a string…lol. The larger globe lights only have 25-30 lights so you’ll want to take that into account. You can always link a couple of strings, too. Carefully make holes where you’re marks are. Make sure they’re big enough for the lights to fit through. If you’re using the larger lights then unscrew the bulbs and just push the base through.. The smaller lights can just be pushed through. Be careful with that knife. You might want to try using a dowel of some sort.
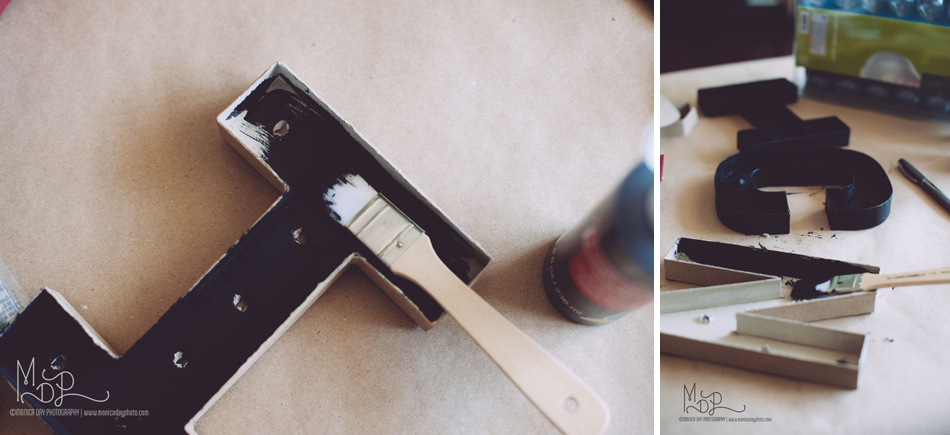
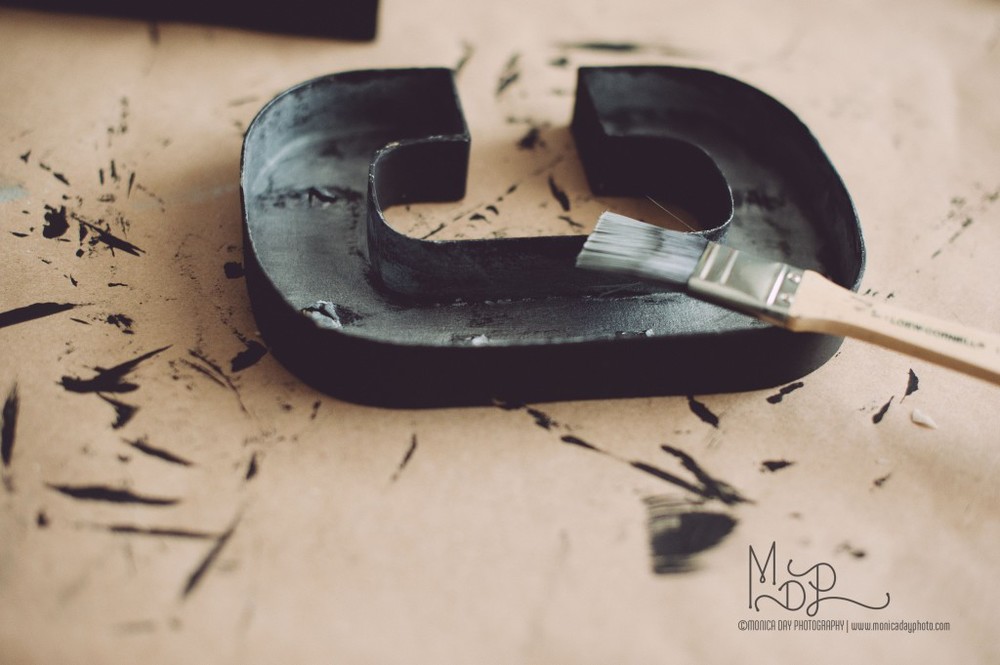
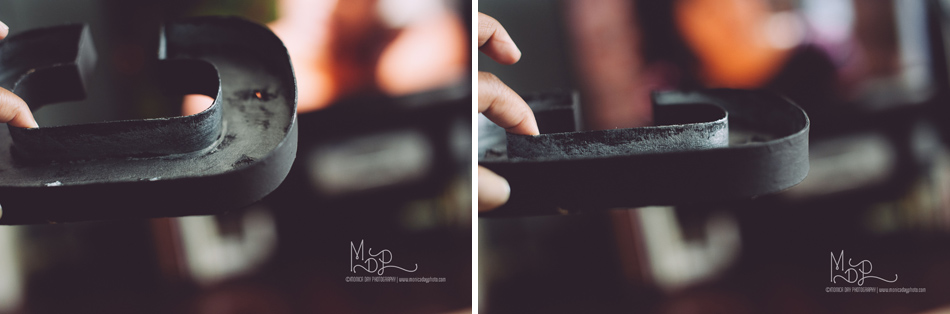

Here’s the fun part. You can paint your letters any way you like. Be sure to paint the outside of your letters for a more finished look. I chose to make mine look more industrial. I wanted to give them a metallic look. I started by painting each letter a flat black. I made sure to paint the edges as well. The next step is to add the metallic paint. The black paint doesn’t need to be completely dry. The paint dries pretty quickly though so no worries if it is. I took a dry brush and painted the metallic on. Try mixing silver with bronze or gold to achieve the color you want. Make sure the paint isn’t too perfect. Leave some black peeking through to give the letters an aged look. I found that the easiest thing to do was to drop some of the metallic paint on the letters and just work the paint around. Find whatever technique works for you. You can choose to metal out the edges too if you like. Just keep going with the same technique.
The lights are next. They’re pretty straightforward to attach. If you’re using the larger lights then be sure to unscrew the bulbs first and screw them in on the other side. That will help hold them in place and keeps you from making your hole too big. If you’re doing the small lights like me then just stick them in. You can tape them down if you’re going to hang them on the wall. Electric tape works well as well as some type of glue. You’ll want to start on whatever end is not going to be plugged into the wall. I started with the first letter, but you can start either end. String the lights and connect each letter with the amount of space you want. You might have a few loose lights, but that’s okay. Most of the strings won’t work if you take a light out but if yours does then you can remove any bulbs you don’t need.
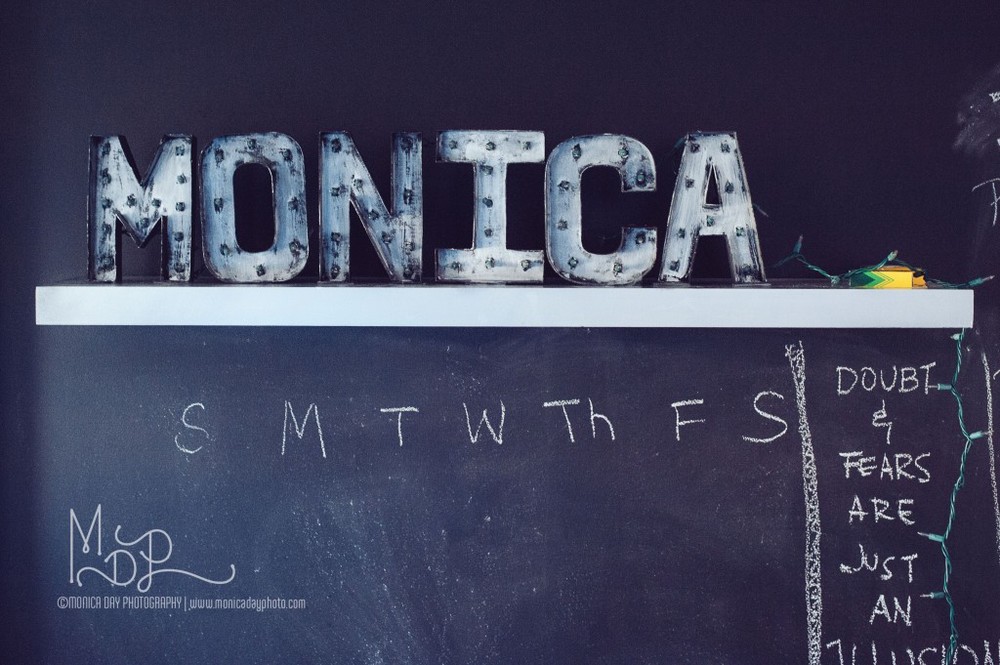
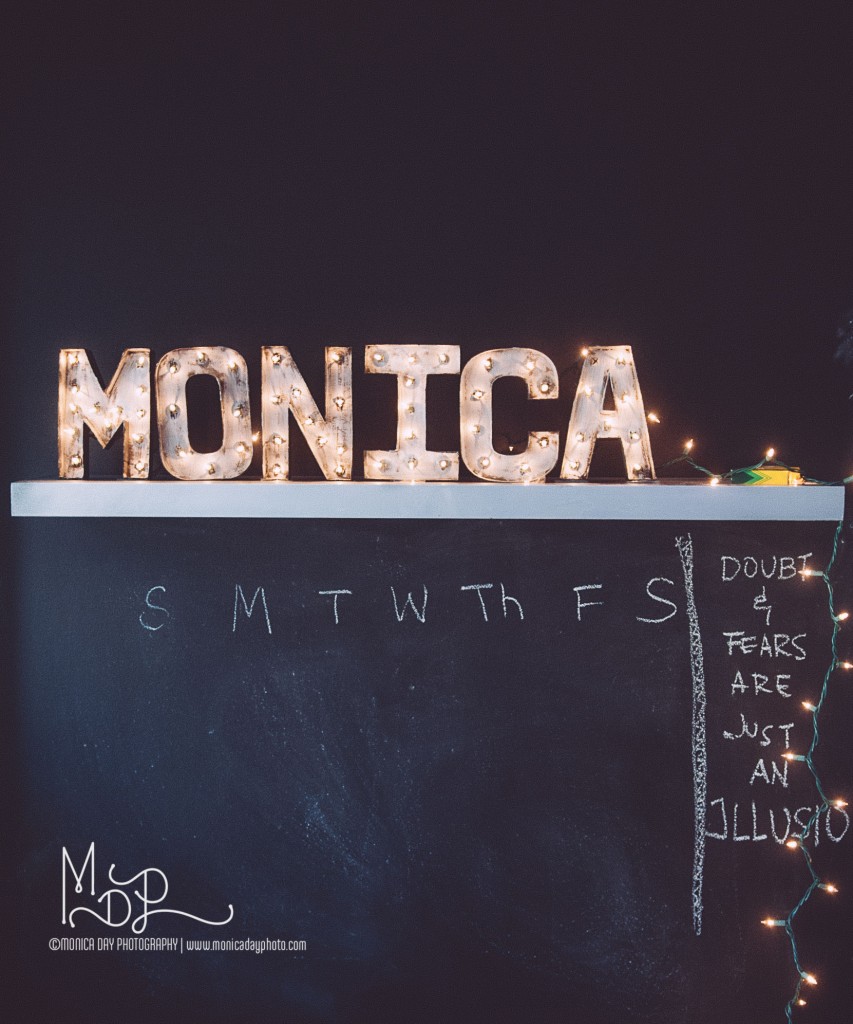
And here’s my finished marquee. I chose to have the letters really close, but you can space yours however you want.
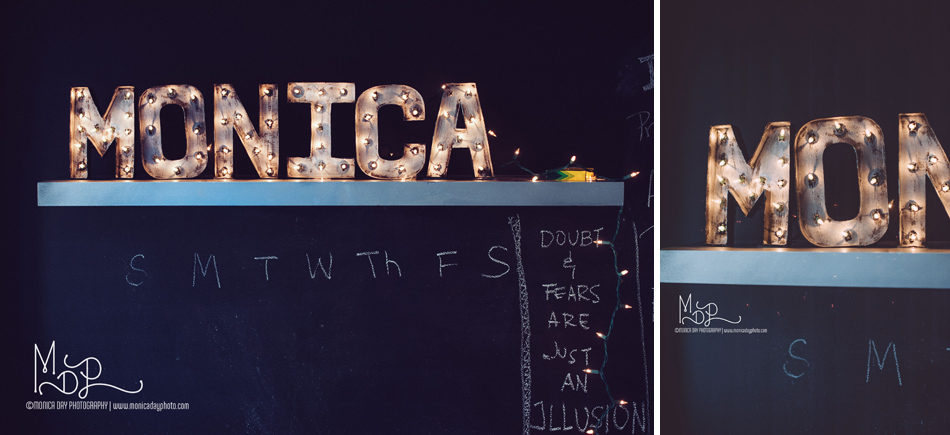

And here it is all lit up and fabulous!! Now get going on yours. I can’t wait to see how you make yours. Let me know what you think and if you have any questions. I love this so much. I want to make so many more but have so many other projects I want to do. Oy!!